Zoom Recordings for Classes
- Tyler Kron-Piatek
- Mark Gallimore
You are able to save recordings of your class Zoom sessions, and efficiently bring them into D2L, by having Zoom sessions saved in Panopto.
In the following tutorial, we show you how to automatically import Zoom recordings to Panopto so they can be saved for a longer period than the 30-Day Retention Policy Canisius currently practices.
NOTE: Zoom recordings must be recorded to the Zoom Cloud. Recordings will be imported to Panopto within 24-48 hours (i.e., the process is not immediate). Only NEW Recordings (i.e., any recordings made after you give Panopto permission) will be imported to Panopto.
Table of Contents
Getting Started
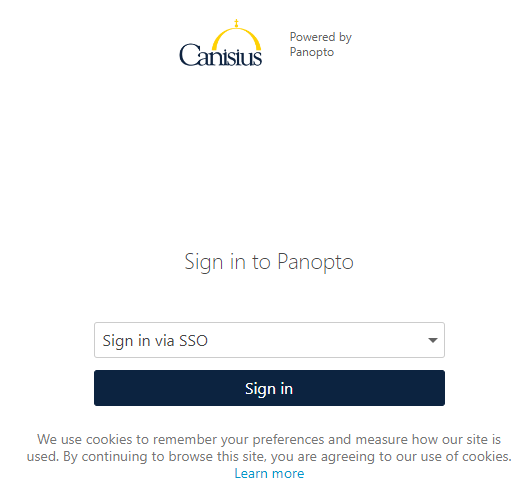
| 1 | Go to: Make sure that it says "Sign in via SSO) and click on Sign-in. You will either get the familiar Canisius login screen (if you are not already signed into My Canisius or D2L for example) or the Panopto Dashboard (if you are already signed into My Canisius or D2L for example). You can also access the Panopto website by clicking on Panopto in any D2L Course Navbar. **Click on the image to enlarge them. |
|
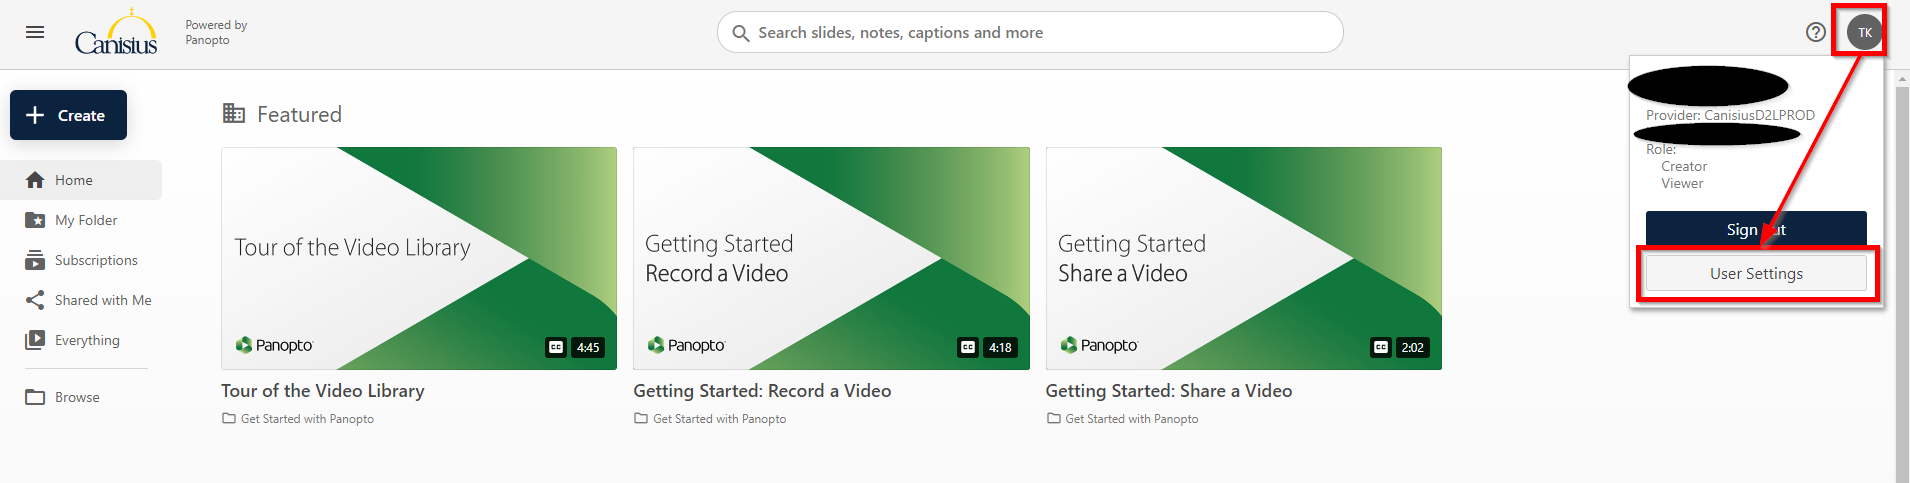
| 2 | Once you are logged into Panopto, click on your user icon in the upper-right (by default, it should have your First and Last initial). Click on User Settings. |
|
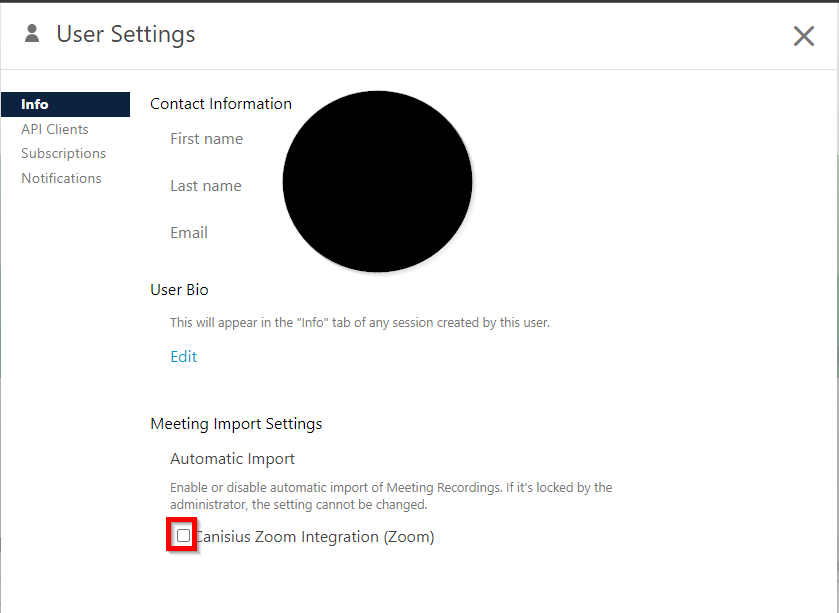
| 3 | Find and click on the checkbox to the left of Canisius Zoom Integration (Zoom), at the bottom of the Screen. **If you are having trouble finding this checkbox, ensure that you are on the "Info" tab. |
|
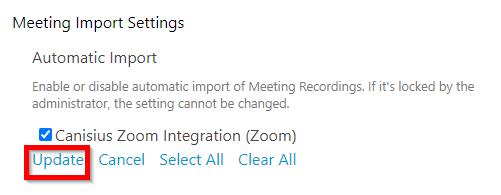
| 4 | When you do, click on Update. |
|
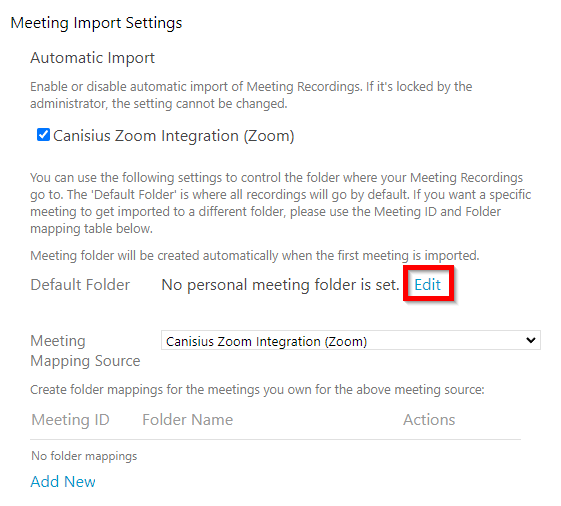
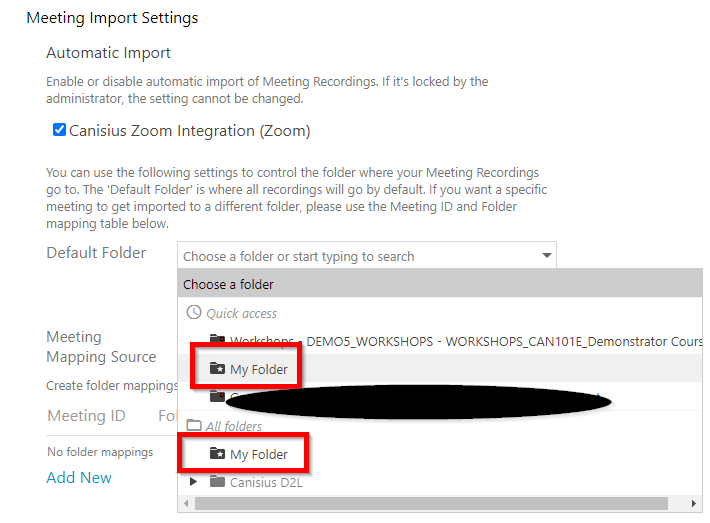
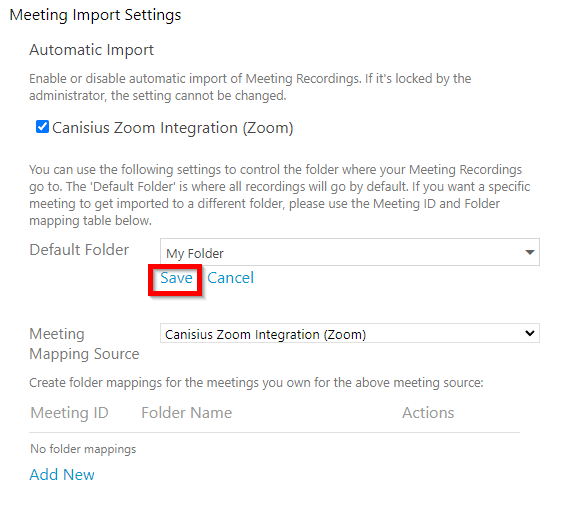
| 5 | When you do, there will be a few other options will appear. We need to set a default folder for where we want our videos to go (we can change this later if needed). Click on Edit. When you do, there should be a search bar allowing you to search through the folders you have access to. By default, all Faculty and Staff have a My Folder (which should be under Quick access. If not, it should be the first folder in the All folders section). We will use this for our demo. Find and click on it. NOTE: We recommend using the My Folder as your default folder. This is because your My Folder does NOT automatically share with anyone. If you are interested in sharing with your students, see the next section, titled: Moving a Recorded Class from the My Folder to a Class Folder. Or, if you want this process to be completely automatic, see the Advanced section. |
|
| 6 | Click on Save. |
|
| 7 | Test to make sure that the permissions are working properly. Start a Zoom meeting quickly, start a recording (make sure that it is going to the cloud) and record for a few minutes. Then, end the recording and meeting. | Learn how to start a Zoom Cloud Recording: |
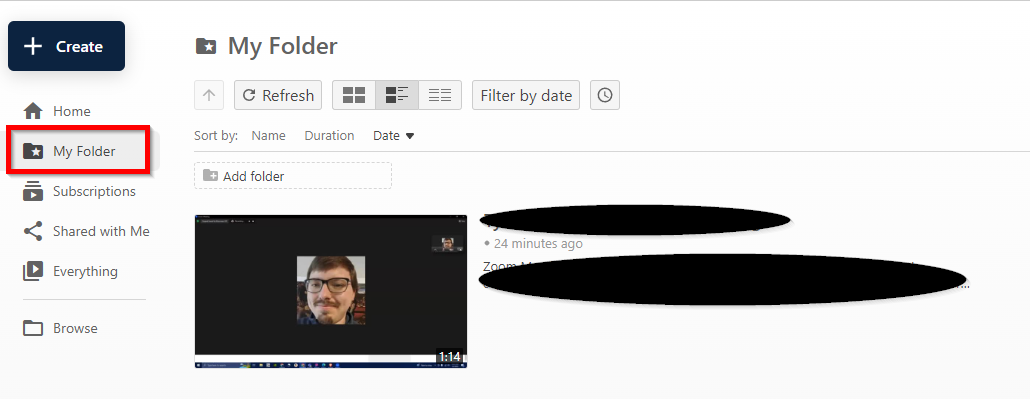
| 8 | Now, go back to Panopto and find your My Folder, which should be in the left-hand sidebar. If you do not, give Panopto about 24-48 hours to finish importing your Zoom recording. If your Zoom recording does not appear within that timeframe, please contact Helpdesk and be sure to have the Meeting ID handy: |
|
Moving a Recorded Class from the My Folder to a Class Folder
In this section, we will show you how to move a recorded meeting (or any video in Panopto really) from one folder to another folder. In this case, we will focus on a Zoom recording that we want to move to a course folder.
| 1 | Go to: Make sure that it says "Sign in via SSO) and click on Sign-in. You will either get the familiar Canisius login screen (if you are not already signed into My Canisius or D2L for example) or the Panopto Dashboard (if you are already signed into My Canisius or D2L for example). You can also access the Panopto website by clicking on Panopto in any D2L Course Navbar. **Click on the image to enlarge them. |
|
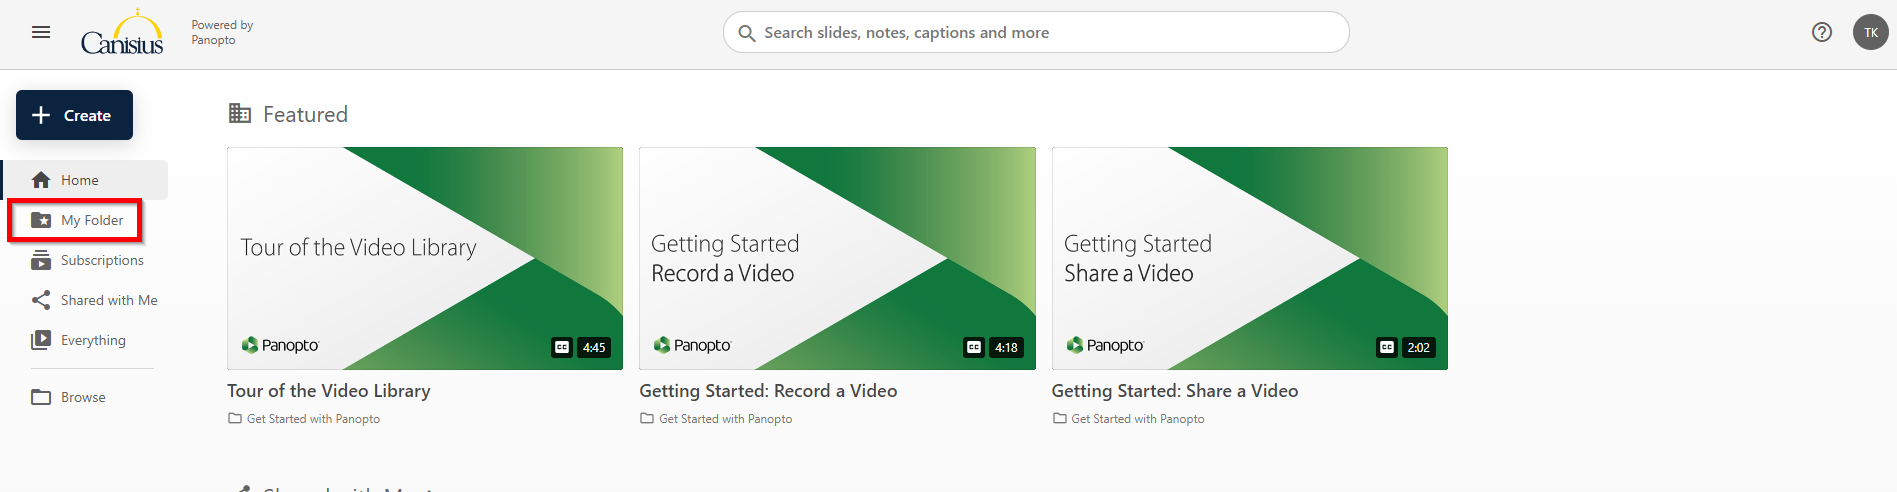
| 2 | When you have signed in, click on the My Folder on the left-hand sidebar. |
|
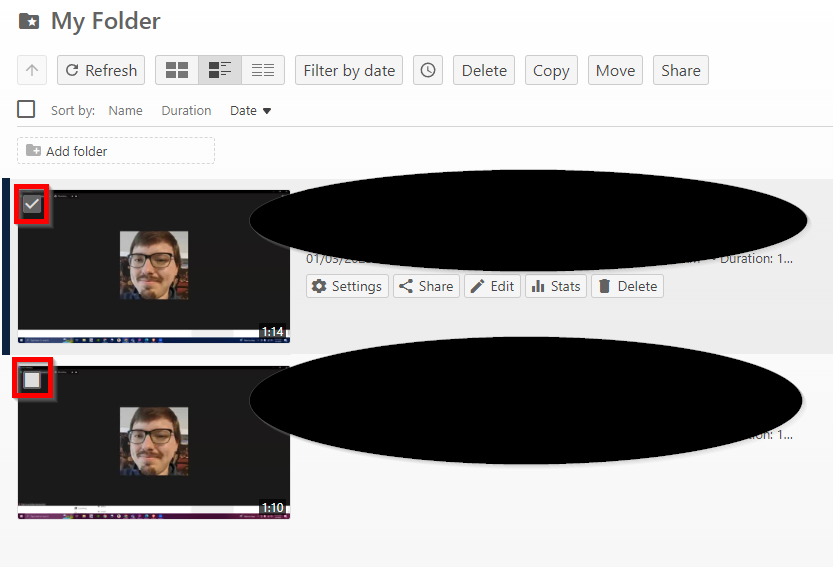
| 3 | When you do, you will see all of the videos that are in your My Folder. Find the video/recording that you want to move. Hover over it and select the checkbox in the upper-left corner. If you have other videos/recordings going to the same place, you can select the checkbox in the upper-left corner as well. |
|
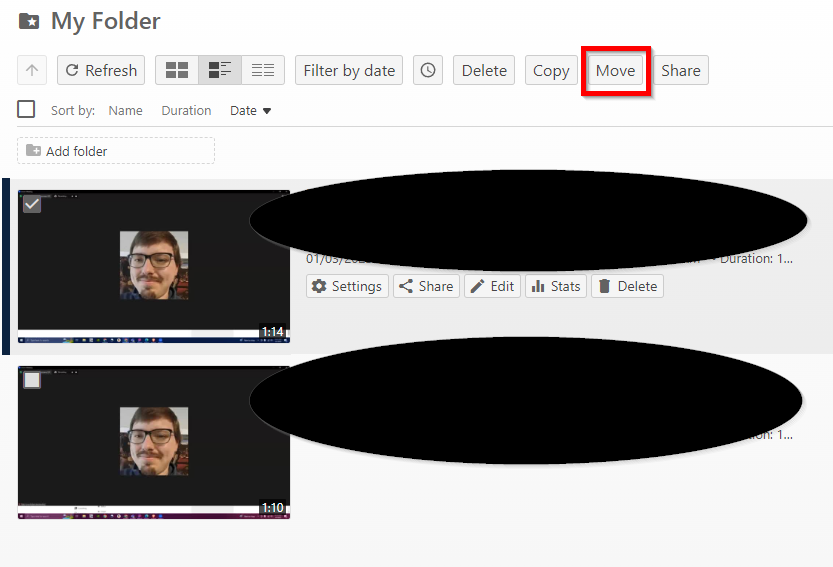
| 4 | When you select your first video, several buttons will appear at the top. Select the Move button. |
|
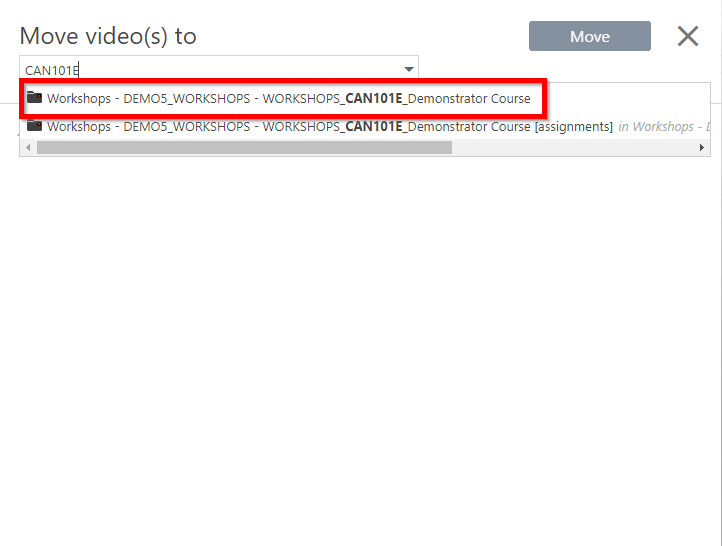
| 5 | A pop-up menu will appear. This menu will have a search bar at the top, allowing you to search through any of the folders you have access to. When you are done searching, click on the folder you want to move the videos/recordings to. |
|
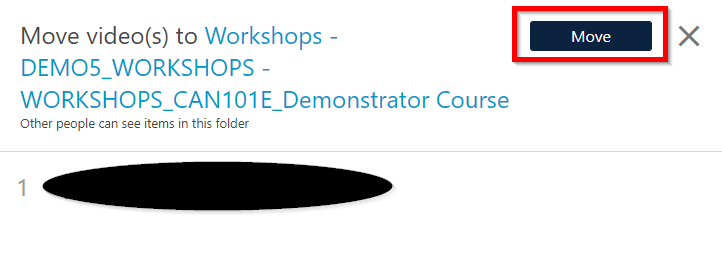
| 6 | When you have selected the folder you want to move the videos to, the blue Move button in the upper-right will not longer be greyed out. Click on it to move the selected video(s). |
|
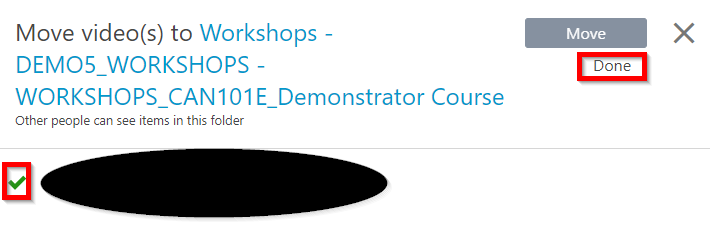
| 7 | When you click on Move, wait until you see the green checkmark to the left of the video title(s) and Done underneath move. |
|
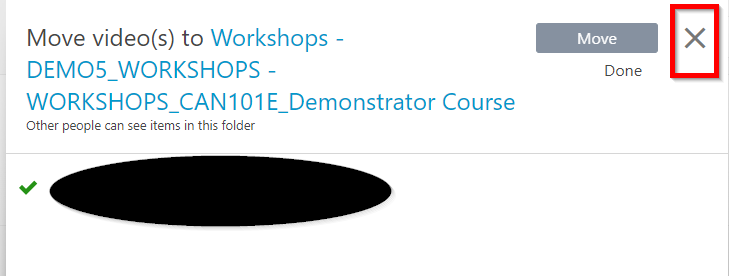
| 8 | Check the folder to make sure that the video has moved over properly. Click on the X button to the right of Move to exit out of the pop-up. |
|
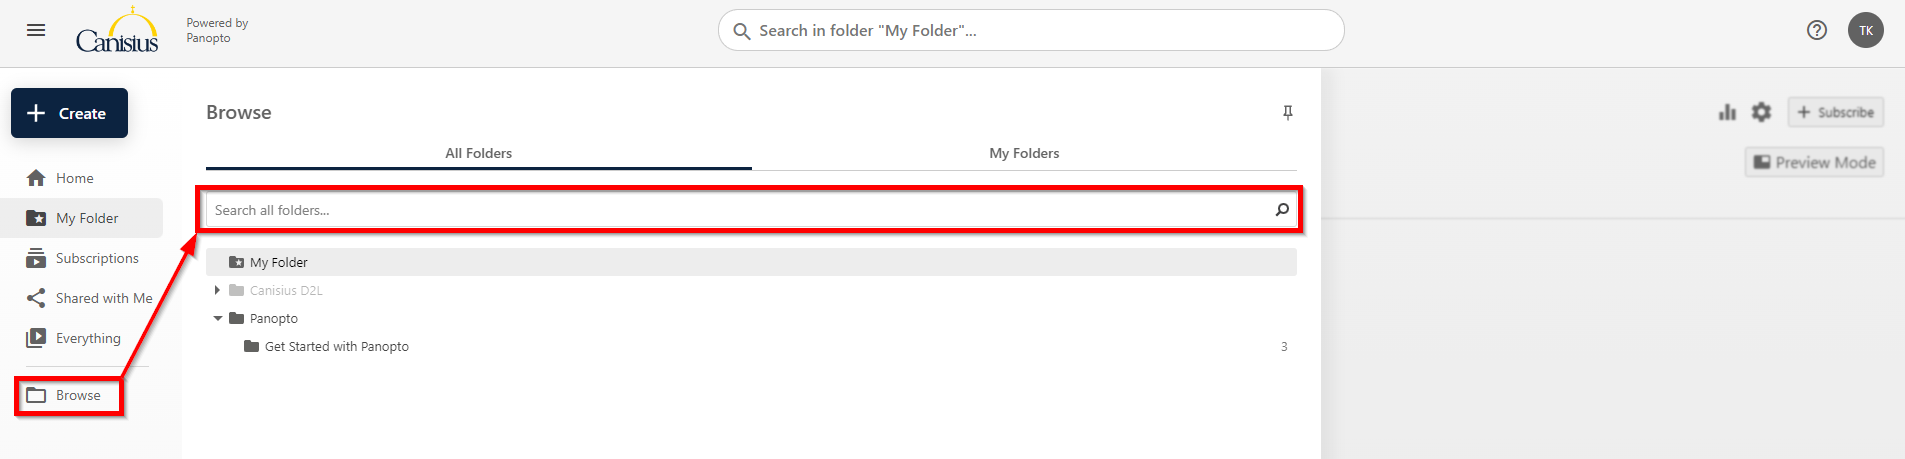
| 9 | Select Browse in the left-hand sidebar and type the name of the folder in the search bar that appears. |
|
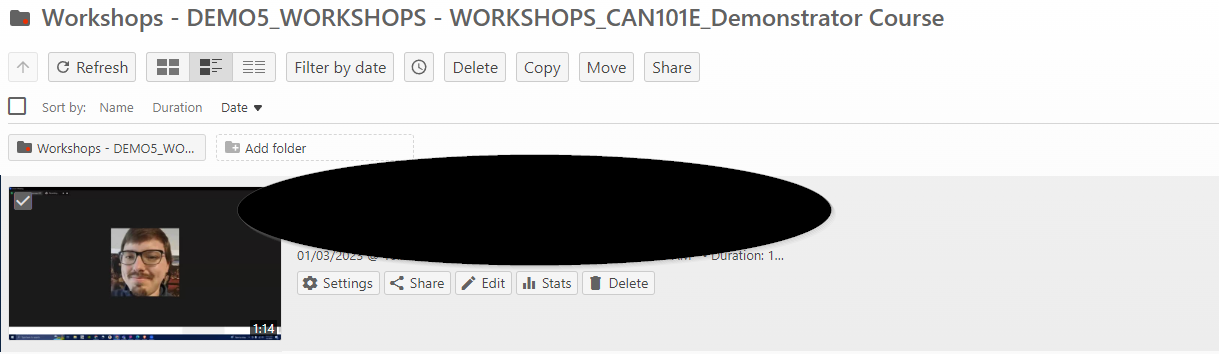
| 10 | The video you just moved should be near the top. |
|
| 11 | Follow the steps found here to add the Panopto video to your course. |
Advanced - Automatically Move Reccurring Meetings to the Appropriate Folder
In this section, we show you how to send certain recordings to certain folders automatically. This can be useful, if, for example, you have a Zoom meeting for a course or perhaps a re-occurring meeting.
NOTE: You will need the Meeting ID handy. Refer to the link in step 8 in the Getting Started section for more information.
| 1 | Go to: Make sure that it says "Sign in via SSO" and click on Sign-in. You will either get the familiar Canisius login screen (if you are not already signed into My Canisius or D2L for example) or the Panopto Dashboard (if you are already signed into My Canisius or D2L for example). You can also access the Panopto website by clicking on Panopto in any D2L Course Navbar. **Click on the image to enlarge them. |
|
| 2 | Once you are logged into Panopto, click on your user icon in the upper-right (by default, it should have your First and Last initial). Click on User Settings. |
|
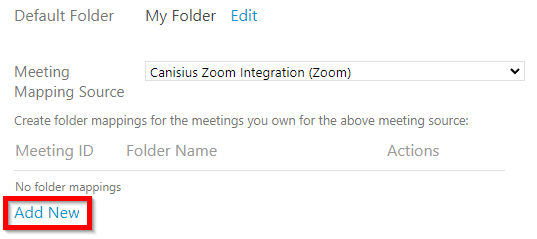
| 3 | Ensure you are in the Info section of the User settings. Scroll down to the bottom/find where it says Meeting Mapping Source. Under that, click on Add New under "Create folder mappings for the meetings you own for the above meeting source:". |
|
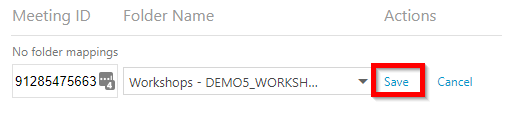
| 4 | Type in the ID of the meeting in the available text box in the Meeting ID category. Then, choose the folder that you want to send the recording to. Then click on Save. |
|
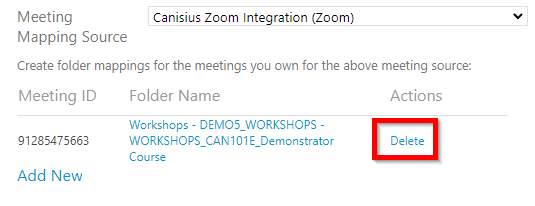
| 5 | When you are done with the meeting AND it has been imported to Panopto, you can delete this relationship by following the above steps and choosing Delete. |
|