Panopto: Upload Video(s)
- Tyler Kron-Piatek
There are two major ways to upload video into Panopto, depending on how you access Panopto (Note: if you use Panopto Capture (browser-based recorder) or Panopto for Windows/Mac (desktop-based recorder), the recording will automatically be uploaded to the folder you choose):
Use the Upload Tab (Add Existing Activities and Insert Stuff)
If you have viewed the videos on how to add Panopto video using either Add Existing Activities (click here) or Insert Stuff (click here), the process outlined below is nearly identical.
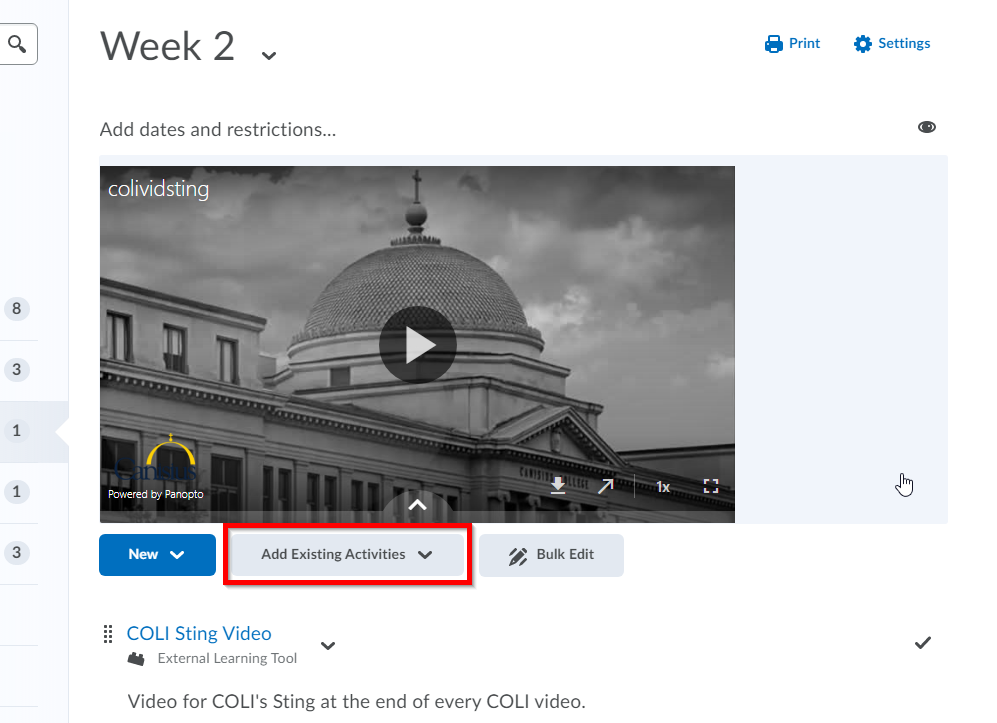
| 1 | In this scenario, we will use the Add Existing Activities option to add Panopto Video to upload a video, but the process will be similar if you decide to use the Insert Stuff tool. Find and click on Add Existing Activities (or the Insert Stuff button in the HTML Editor). |
|
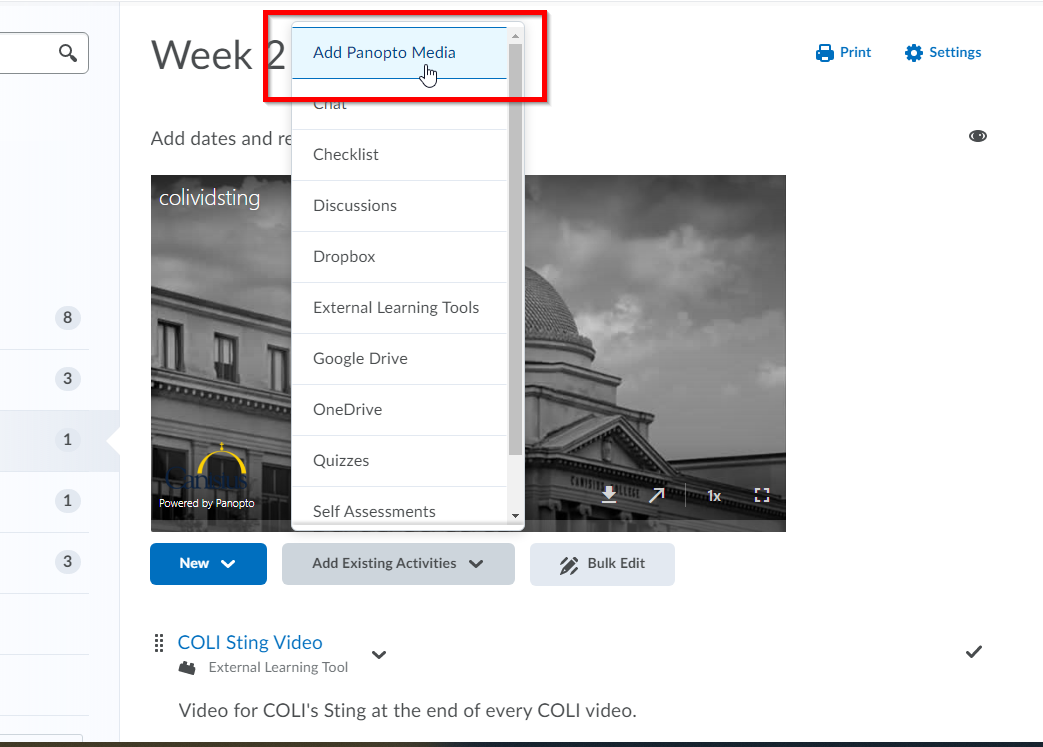
| 2 | Choose "Add Panotpo Media" (or "Insert Panopto Media" if you are using the Insert Stuff tool). |
|
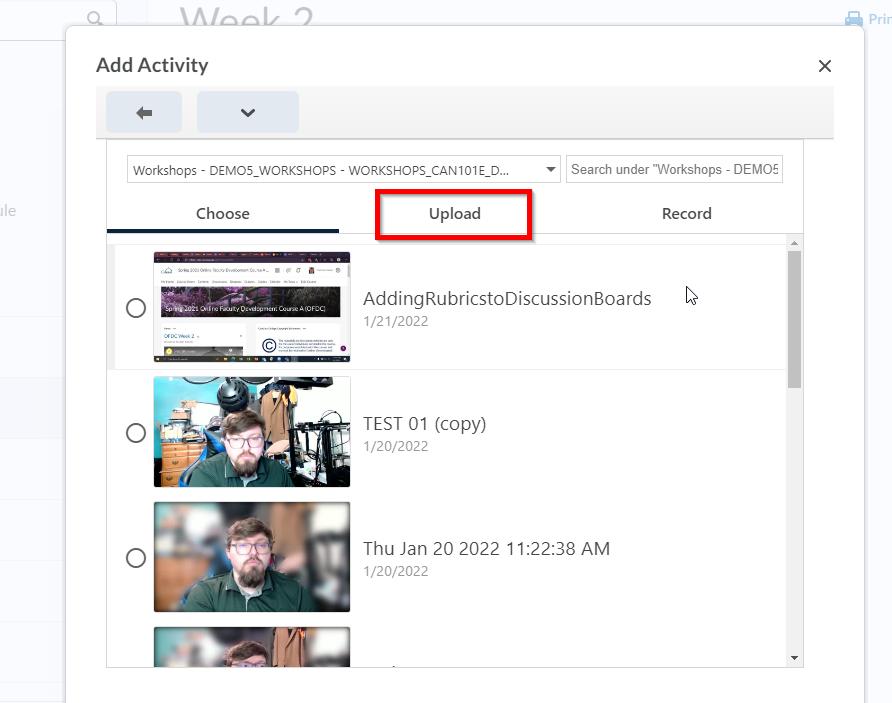
| 3 | By default, you are on the "Choose" tab. To the right of this tab is the "Upload" tab. Click on that. |
|
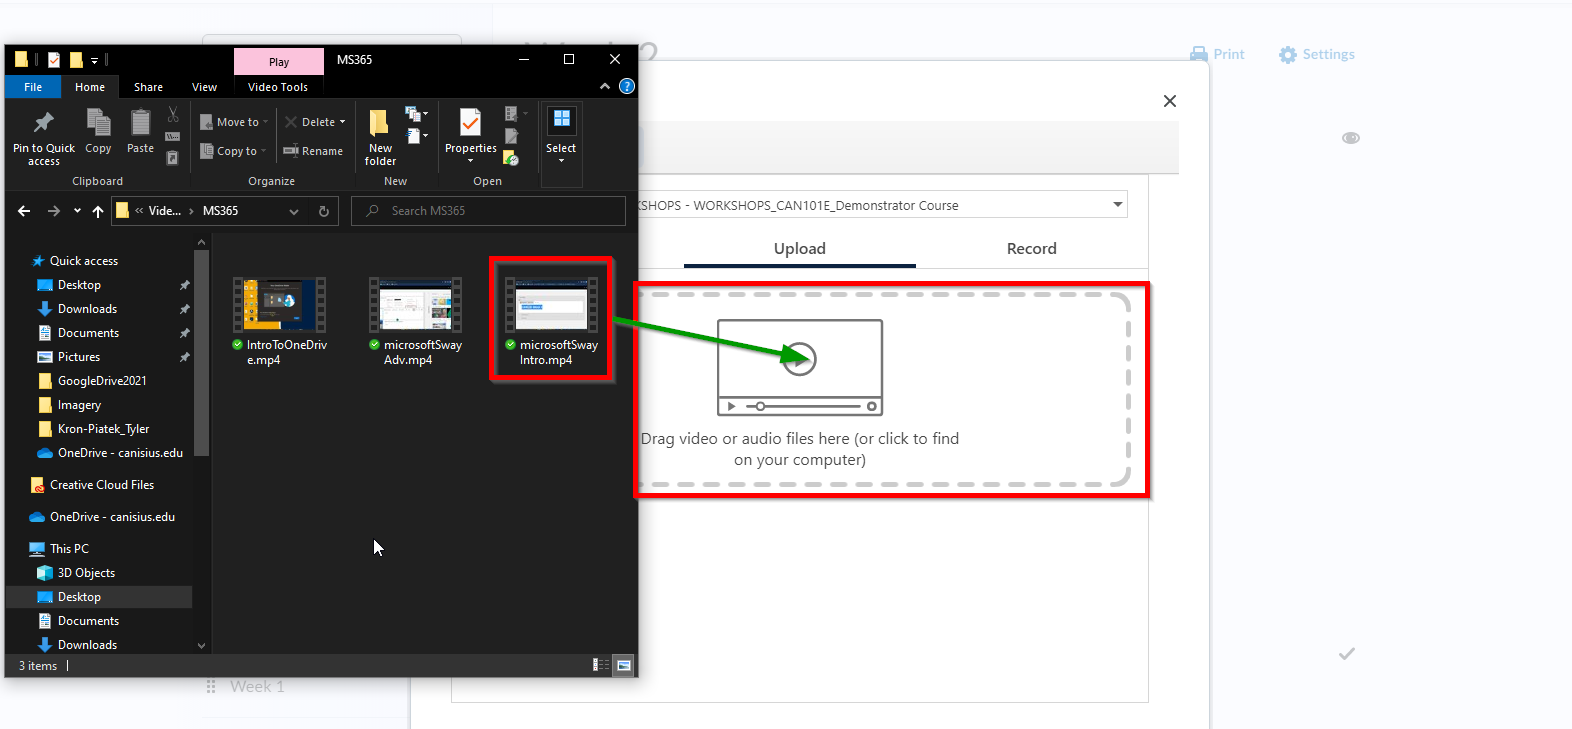
| 4 | Either drag and drop the video(s) that you want to upload to the provided space or click on the icon to open file explorer and choose the video(s) you want to upload. |
|
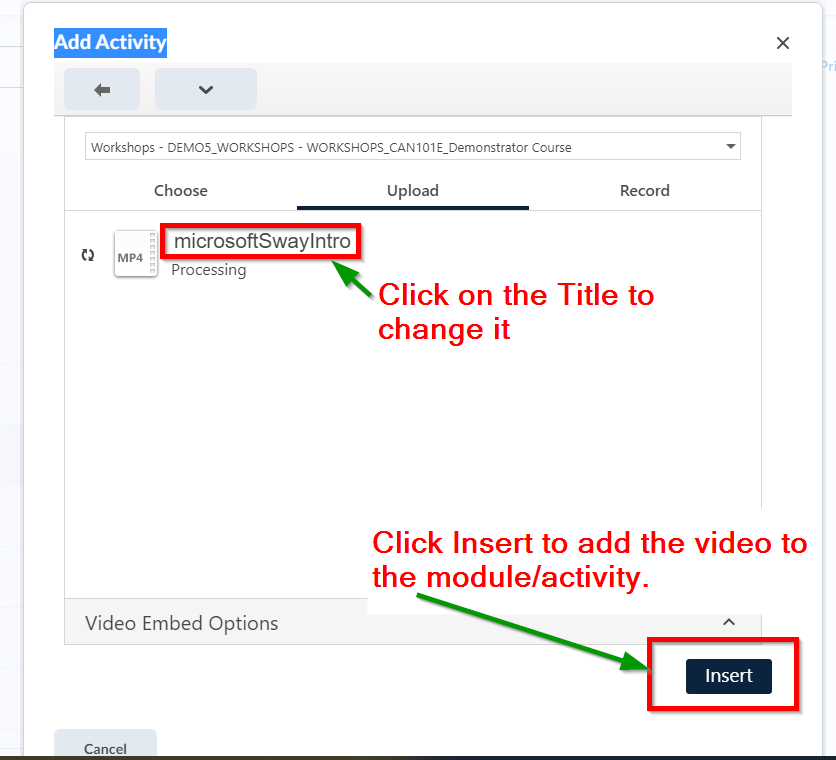
| 5 | Once it is done uploading, you can click on the title of the video to change the title of the video and insert the video into the module/activity by clicking on the blue Insert button in the lower-right. Note that Panopto will need to process the video before students can view it. You also do not need to insert it into the Module/Activity right away. Instead of clicking on Insert, click on Cancel. Then just add it to a module or activity by following the videos for Add Existing Activities (click here) or Insert Button (click here). |
|
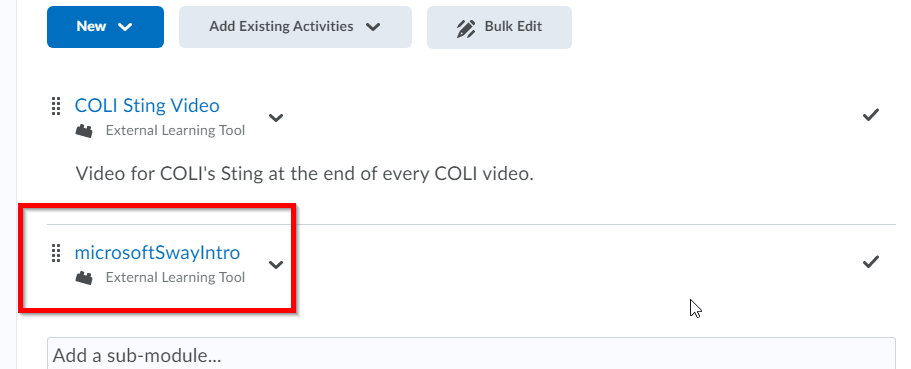
| 6 | Your video will be added to the bottom of the activities list. |
|
Upload Media (Panopto Dashboard)
If you are uploading a lot of videos at once, it may be useful to use the Panopto Dashboard instead.
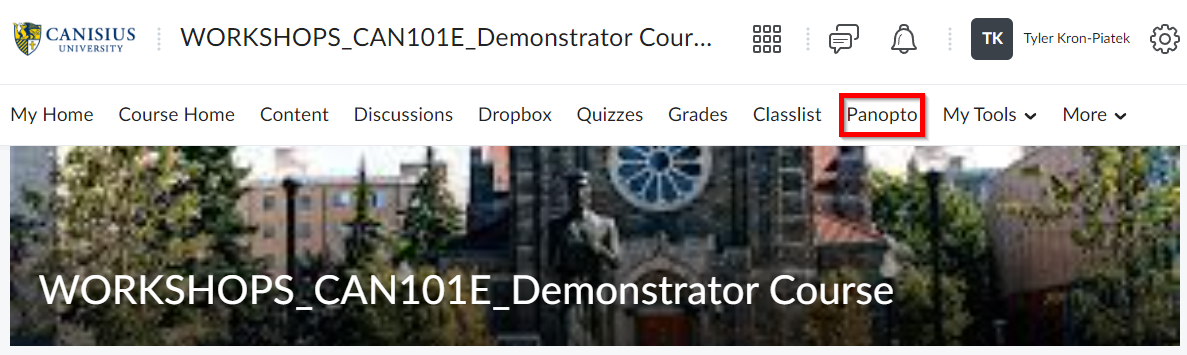
| 1 | Navigate to the course in D2L that you want to upload the videos to. Click on Panopto in the course navbar. |
|
| 2 | Click on the Create button and then click on Upload Media. |
|
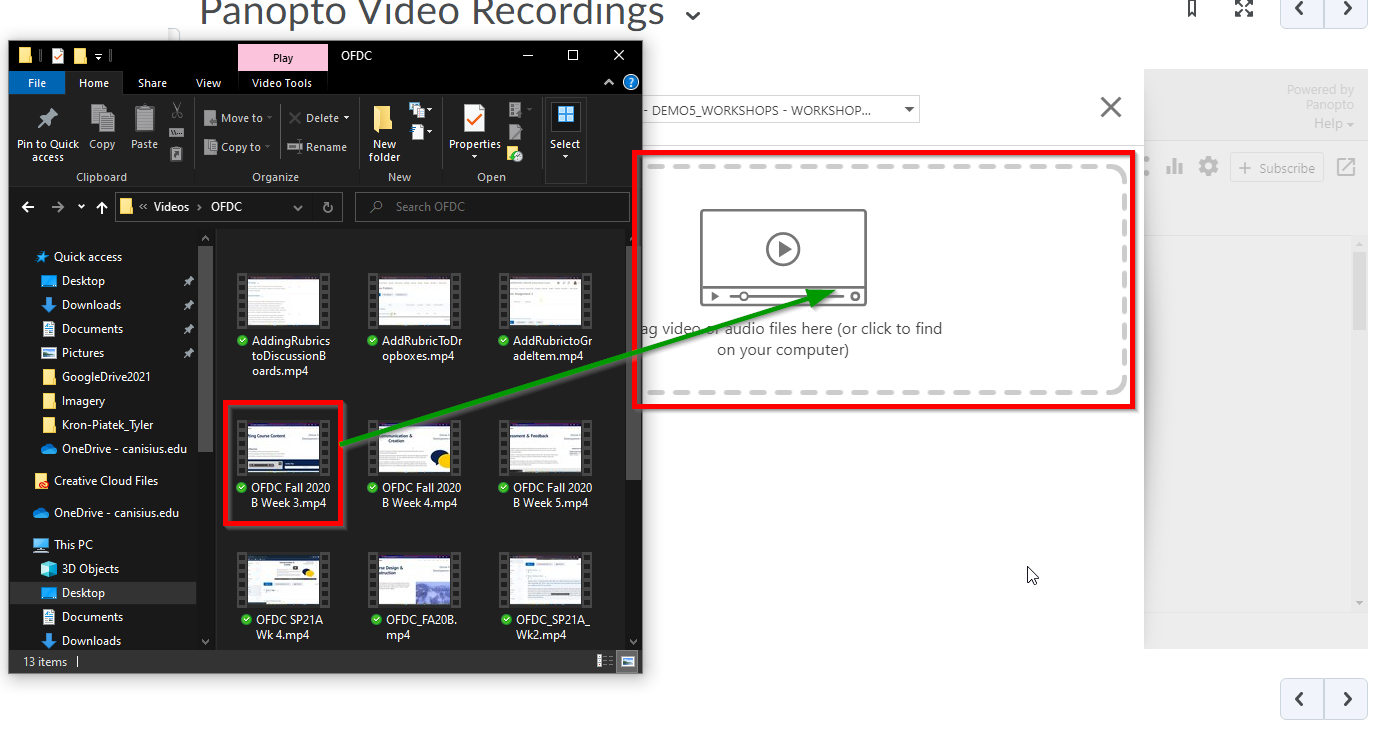
| 3 | In the window that appears, either drag and drop the video(s) that you want to upload into the appropriate space or click on the icon to use the file explorer and select the video(s) that you want to upload. |
|
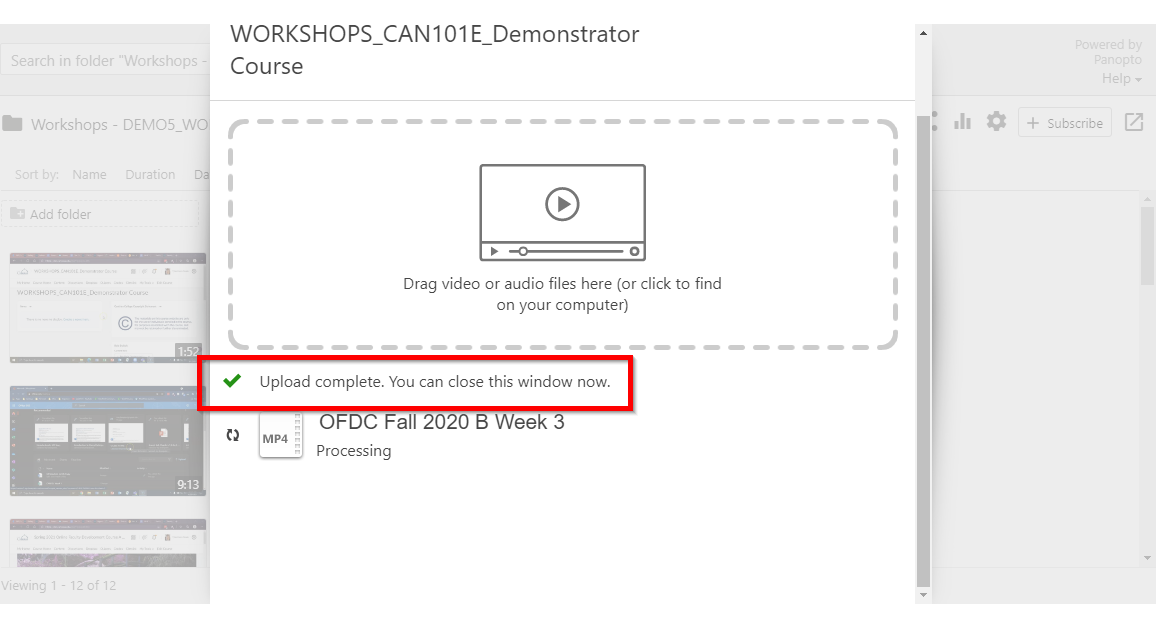
| 4 | It may take some time, but when Panopto completes the upload, you will get a message informing you that you can close the window. |
|
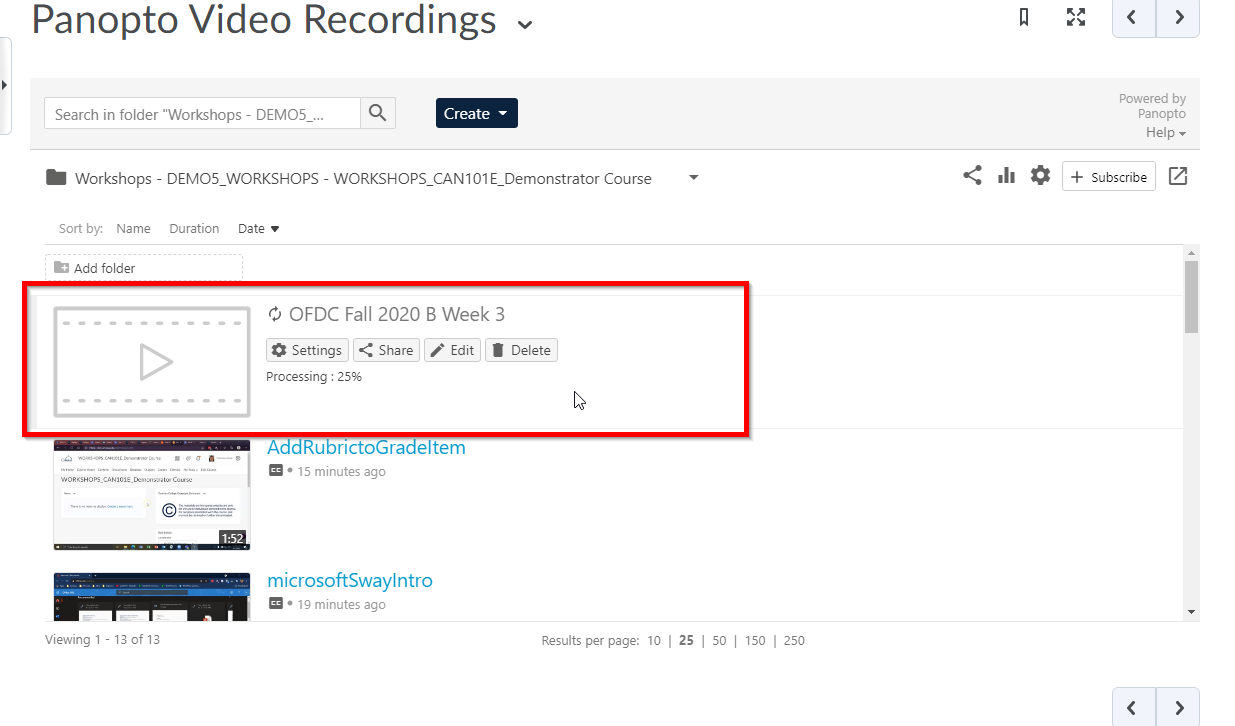
| 5 | Your video should appear at the top of your list. Note that Panopto needs to process the video before students will be able to view it. |
|